Telegram is one of the most used program for instant messaging and it is known for the possibility to have bots that interact with user privately or within groups.
In this tutorial we are going to create our own bot without worring about any code.


1) Install Node.js
We will need this in order to run the bot on our computer (or for the ones a little bit nerdier on a Raspberry).
So, let’s download it from here: https://nodejs.org/en/download/
2) Download project
This is the link from GitHub where to download all the material needed to configure and run the bot: Download
Top 4 Bot Tutorials
1. AWS setup for Deep Learning
2. How to Integrate API.AI with Chatfuel
The whole project (let me call it this way, I don’t want to use the word “code” to not scare anyone) is on GitHub:
3) Create a BOT with BotFather
In order to create a bot we need to obtain an official code from Telegram (called API token), and for that we have to contact BotFather: https://t.me/botfather
BotFather is the one bot to rule them all. Use it to create new bot accounts and manage your existing bots.
Just type the command /newbot and follow the istructions given by BotFather:


Another important step we better do now is to disable the privacy of the bot to allow it inside group chats.
Simply send the command /setprivacy to Botfather, select your bot and click/tap on disable.

4) Configure your token
If you haven’t done it yet unzip the project inside a folder then rename .envExample to .env (see later if you’re on Windows) and edit the following line, inserting your API token given by BotFather:
TELEGRAM_TOKEN=”<YOUR_TOKEN_HERE>”If you are on Windows:
You may have trouble renaming the file, simply open the start menu and type “cmd” then open the “Command Prompt” and do as this image:


5) Configure your answers
Now it’s time to be creative.
Open the file answers.json and let’s give a look at it.
Here’s where all the answers are stored, it’s easy to see the structure, a concatenation of these “objects” that contain the triggers and the replies to each of those triggers.
- triggers: concatenation of strings that trigger that answer
- replies: concatenation of a “sub-ojects”
Each one of the replies has
- reply: which is what is meant to be sent as message
- type: it specify the type of the reply, can be “text”, “audio” or “image”
Depending on the type, the reply should have a meaningful value: in case the type is equal to audio or image the value of reply must be a valid path to a file on your computer even if it is highly suggested to put these kind of media inside the folder “media”.
As for now the extentions tested for media are “.jpg”, “.gif” and “.mp3”.
6) Dowload dependencies
On a Command Prompt type the following command (inside the folder of the project) in order to download all the dependecies needed by the bot:
npm install

7) Start the bot
We are almost done, now that everything is set up with can finally start our bot. In the same console we used to install all the dependencies we have to run:
npm start
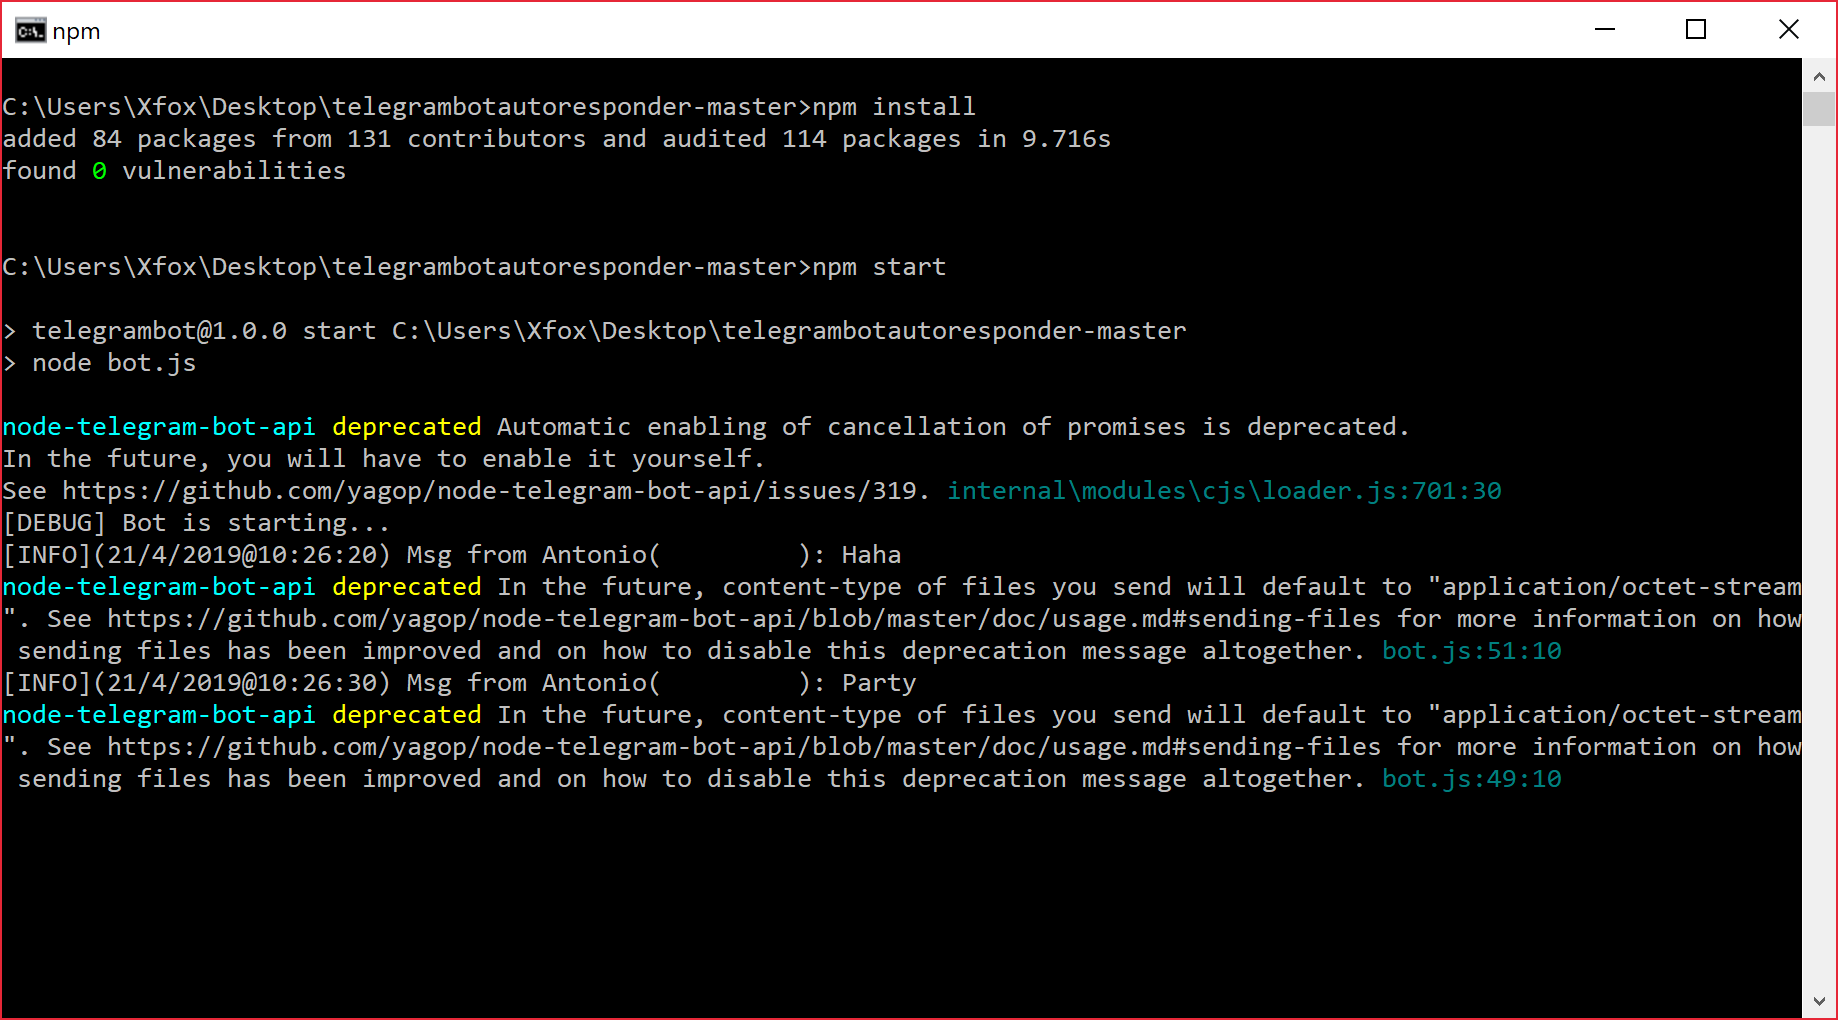
And this is the result


You may notice that in the console there are some [INFO] messages, those help you keep track of who is using your bot, the same information are stored inside a file you’ll find in the project folder called debug.log.
The bot can be stopped and rerun without any problem
In case you want to run it on a headless machine, like a Raspberry, you may want to find a way to have it not interfering with other application, read my other article about Unix Screen: