What is React Native WebView?
In simple terms, WebView is a component that used to load webpages in your React Native app. It was formerly available out of the box in React Native, but it has since been removed from React Native core and added as a component of the React Native Community libraries.

Getting started with React Native WebView
First, you need to install the library by running the below command.
// with yarn
$ yarn add react-native-webview

// with npm
$ npm install --save react-native-webview
Then, link the dependencies. From react-native 0.60, auto-linking will handle the linking process, but don’t forget to run pod install.
React Native modules that include native Objective-C, Swift, Java, or Kotlin code have to be “linked” so that the compiler knows to include them in the app.
To link it, run the below command:
$ react-native link react-native-webviewFor iOS:
If you’re using CocoaPods in the ios/ directory, run:
$ pod installFor Android:
If you’re using react-native-webview version ≥6.X.X, make sure AndroidX is enabled in your project by editing android/gradle.properties and adding the two lines below:
android.useAndroidX=true
android.enableJetifier=trueNote: If you ever need to uninstall React Native WebView, run
react-native unlink react-native-webviewto unlink it.
I hope you’ve successfully installed it. If you’re stuck somewhere, please refer to the official installation guide.
Now I’ll show you useful examples of WebView, from simple to advanced, and some how-tos after that.
Basic quickstart with WebView
Let’s begin by reviewing the basic properties of WebView.
import React, { Component } from 'react';
import { WebView } from 'react-native-webview';

class MyWeb extends Component {
  render() {
    return (
      <WebView
        source={{ uri: 'https://logrocket.com/' }}
        style={{ marginTop: 20 }}
      />
    );
  }
}
First, the source property is used to get the content either from a URL or HTML. If you want to load a webpage by its URL, you have to pass an object with the property uri, as shown below:
<WebView
  source={{ uri: 'https://logrocket.com/' }}
/>
Loading inline HTML in WebView
Above, we saw how to load a webpage by its URL. But if you want to load HTML directly, you can use the html property in WebView’s source property, as shown below:
<WebView
  originWhitelist={['*']}
  source={{ html: '<h1>Hello world</h1>' }}
/>Note: Setting an
htmlsource requires theoriginWhiteListproperty to be set to['*'].
What is the originWhitelist property in WebView?
In simple terms, the originWhitelist property takes control of where users can navigate in your WebView. It takes an array of strings, and the default whitelisted origins are http:// and https://.
For example, if you want to ensure that users are only allowed to navigate to URIs that begin with https:// or git://, you would implement like so:
<WebView
  source={{ uri: 'https://logrocket.com/' }}
  originWhitelist={['https://*', 'git://*']}
/>
Let’s explore some other examples.
Loading local HTML files in WebView
Sometimes you have HTML files locally along with your app that you would like to load in WebView.
In iOS, all you need to do is import the HTML file like any other asset, as shown in the below example:
import React, { Component } from 'react';
import { WebView } from 'react-native-webview';

const myHtmlFile = require("./my-asset-folder/local-site.html");

class MyWeb extends Component {
  render() {
    return (
      <WebView source={myHtmlFile} />
    );
  }
}
Very simple — exactly what you’d expected.
But in Android, you need to put your HTML files inside the Android assets directory. For example, if you want to load a file called logrocket.html in your Android app, you have to move it into the Android assets directory, which is yourProject/android/src/main/assets/.
Then you can load the HTML file, as shown in the below example:
import React, { Component } from 'react';
import { WebView } from 'react-native-webview';

class MyWeb extends Component {
  render() {
    return (
      <WebView source={{ uri: "file:///android_asset/logrocket.html" }} />
    );
  }
}
Controlling navigation state changes by user
onNavigationStateChange is a function that is invoked when the WebView loading starts or ends.
If you need to control the navigation state changes and do something different than navigating there in the WebView, this is the perfect way to do that. Here’s an example:
import React, { Component } from 'react';
import { WebView } from 'react-native-webview';

class MyWeb extends Component {
  webview = null;

  render() {
    return (
      <WebView
        ref={ref => (this.webview = ref)}
        source={{ uri: 'https://logrocket.com/' }}
        onNavigationStateChange={this.handleWebViewNavigationStateChange}
      />
    );
  }

  handleWebViewNavigationStateChange = newNavState => {
    // newNavState looks something like this:
    // {
    //   url?: string;
    //   title?: string;
    //   loading?: boolean;
    //   canGoBack?: boolean;
    //   canGoForward?: boolean;
    // }
    const { url } = newNavState;
    if (!url) return;

    // handle certain doctypes
    if (url.includes('.pdf')) {
      this.webview.stopLoading();
      // open a modal with the PDF viewer
    }

    // one way to handle a successful form submit is via query strings
    if (url.includes('?message=success')) {
      this.webview.stopLoading();
      // maybe close this view?
    }

    // one way to handle errors is via query string
    if (url.includes('?errors=true')) {
      this.webview.stopLoading();
    }

    // redirect somewhere else
    if (url.includes('google.com')) {
      const newURL = 'https://logrocket.com/';
      const redirectTo = 'window.location = "' + newURL + '"';
      this.webview.injectJavaScript(redirectTo);
    }
  };
}
Note that this method will not be invoked on hash URL changes (e.g., from https://logrocket.com/users#list to https://logrocket.com/users#help). However, since version 8.0.0, if you use onNavigationStateChange on iOS specifically, it will now trigger on # changes to the URL.
How to add support for file uploads in WebView
You’ll need to add the below permissions if you want to allow file uploads in WebView. I separated them by task and platform below, so you can choose exactly what you need.
For iOS:
If you are using iOS, all you need to do is specify the permissions in your ios/[project]/Info.plist file.
For photo capture:
<key>NSCameraUsageDescription</key>
<string>Take pictures for certain activities</string>
For gallery selection:
<key>NSPhotoLibraryUsageDescription</key>
<string>Select pictures for certain activities</string>
For video recording:
<key>NSMicrophoneUsageDescription</key>
<string>Need microphone access for recording videos</string>
For Android:
Add permission in AndroidManifest.xml. located at /android/app/src/main/AndroidManifest.xml.
When I started Android development, I had real trouble finding those files in my project, which is why I added those file locations.
<manifest ...>
  ......

  <!-- this is required only for Android 4.1-5.1 (api 16-22)  -->
  <uses-permission android:name="android.permission.WRITE_EXTERNAL_STORAGE" />

  ......
</manifest>
File upload using <input type="file" /> is not supported for Android 4.4 KitKat (see details here), but if you want to check whether the file upload is supported, you can check it using isFileUploadSupported(). See the example below:
WebView.isFileUploadSupported().then(res => {
  if (res === true) {
    // file upload is supported
  } else {
    // file upload is not supported
  }
});
Controlling multiple file uploads
In any case, if you want to control single and multiple file uploads, you can simply add the multiple attribute on your input element, as shown in the below example:
// multiple file selection
<input type="file" multiple />

// single file selection
<input type="file" />
Adding support for file downloads
Yes, if you want your users to be able to download files from your WebView, you need to add permission for that.
For iOS:
For iOS, all you need to do is specify the permissions in your ios/[project]/Info.plist file.
Save to gallery:
<key>NSPhotoLibraryAddUsageDescription</key>
<string>Save pictures for certain activities.</string>
For Android:
Add permission in AndroidManifest.xml, which, again, is located at /android/app/src/main/AndroidManifest.xml:
<manifest ...>
  ......

  <!-- this is required to save files on Android  -->
  <uses-permission android:name="android.permission.WRITE_EXTERNAL_STORAGE" />

  ......
</manifest>
How to inject JavaScript in WebView
Sometimes you will find yourself in a situation where you want to run JavaScript with the WebView. For that case, WebView provides you with three different methods:
- The
injectedJavaScriptprop - The
injectJavaScriptmethod - The
postMessagemethod andonMessageprop
The injectedJavaScript prop
This method runs your provided script immediately after the webpage loads for the first time. It only runs once, even if the page is reloaded or the user navigates away. For example:
import React, { Component } from 'react';
import { View } from 'react-native';
import { WebView } from 'react-native-webview';

export default class App extends Component {
  render() {
    const myScript = `
      document.body.style.backgroundColor = 'red';
      setTimeout(function() { window.alert('hi') }, 2000);
      true; // note: this is required, or you'll sometimes get silent failures
    `;
    return (
      <View style={{ flex: 1 }}>
        <WebView
          source={{
            uri:
              'https://github.com/react-native-community/react-native-webview',
          }}
          injectedJavaScript={runFirst}
        />
      </View>
    );
  }
}Note: I don’t know why, but as its official documentation says,
true;is required at the end of the script. If you don’t use it, you will sometimes get silent failures, so it’s just better to include it.
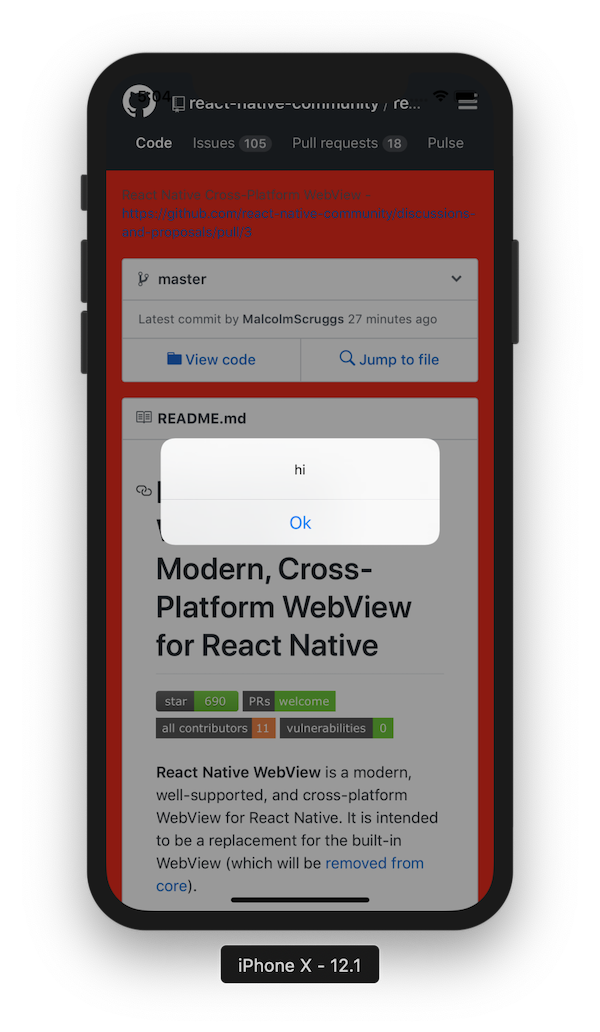
So, in the above script, I set the background color to red and alert hi after two seconds, as you can see in the below image. myScript will run once the page is loaded.
What’s going on internally?
In iOS, injectedJavaScript runs a method on WebView called evaluateJavaScript:completionHandler:. On Android, injectedJavaScript runs a method on the Android WebView called evaluateJavascriptWithFallback.
As we mentioned, the injectedJavaScript prop runs after content load. But what if you need to run the JavaScript code before loading the content?
For that we have another prop called injectedJavaScriptBeforeContentLoaded that runs your JavaScript code before the page loads for the first time. It only runs once, even if the page is reloaded or the user navigates away. You can use this prop when you want to inject anything into the window, localStorage, or document prior to the code executing.
import React, { Component } from 'react';
import { View } from 'react-native';
import { WebView } from 'react-native-webview';

export default class App extends Component {
  render() {
    const runFirst = `
      window.isNativeApp = true;
      true; // note: this is required, or you'll sometimes get silent failures
    `;
    return (
      <View style={{ flex: 1 }}>
        <WebView
          source={{ uri: 'https://logrocket.com/' }}
          injectedJavaScriptBeforeContentLoaded={runFirst}
        />
      </View>
    );
  }
}
The injectJavaScript method
The downside of the injectedJavaScript prop is that it only runs once. That’s why they also expose a method on the WebView ref called injectJavaScript. (Note the little difference in name!)
This is how you can use the injectJavaScript prop:
import React, { Component } from 'react';
import { View } from 'react-native';
import { WebView } from 'react-native-webview';

export default class App extends Component {
  render() {
    const run = `
      document.body.style.backgroundColor = 'blue';
      true;
    `;

    setTimeout(() => {
      this.webref.injectJavaScript(run);
    }, 3000);

    return (
      <View style={{ flex: 1 }}>
        <WebView
          ref={r => (this.webref = r)}
          source={{ uri: 'https://logrocket.com/' }}
        />
      </View>
    );
  }
}
After three seconds, the code will run and make the background blue:

What’s going on internally?
On iOS, injectJavaScript calls WebView’s evaluateJS:andThen:. On Android, injectJavaScript calls Android WebView’s evaluateJavascriptWithFallback method.
The window.ReactNativeWebView.postMessage method and onMessage prop
Well, the previous approaches are really helpful with injecting JavaScript code using props. But what if the webpage wants to send/communicate something back to your React Native code? That is where you can use window.ReactNativeWebView.postMessage and the onMessage prop.
You must set onMessage or the window.ReactNativeWebView.postMessage method will not be injected into the webpage.
Note:
window.ReactNativeWebView.postMessageonly accepts one argument, which must be a string.
import React, { Component } from 'react';
import { View } from 'react-native';
import { WebView } from 'react-native-webview';
export default class App extends Component {
render() {
const html = `
<html>
<head></head>
<body>
<script>
setTimeout(function () {
window.ReactNativeWebView.postMessage("Hello!")
}, 2000)
</script>
</body>
</html>
`;
return (
<View style={{ flex: 1 }}>
<WebView
source={{ html }}
onMessage={event => {
alert(event.nativeEvent.data);
}}
/>
</View>
);
}
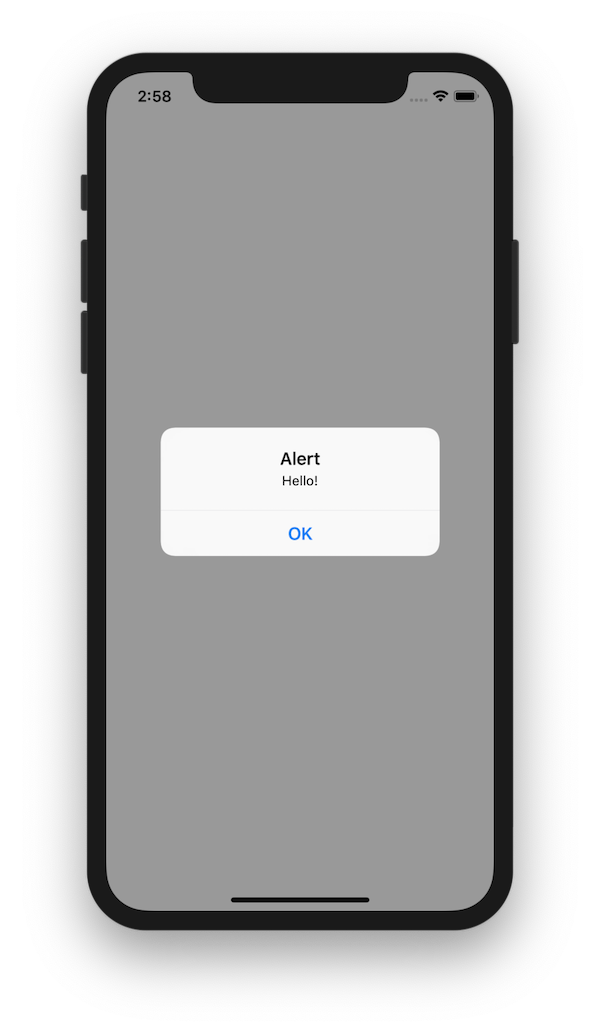
}The result of the code is a Hello! alert, as depicted in the image below:
Conclusion
If you read this whole article, I can say that you probably know more than you’re gonna use in React Native WebView — and I think it’s always better to know more.